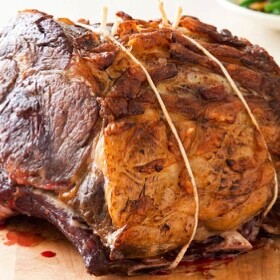
Standing Rib Roast
Equipment
- 1 Grill Charcoal or Gas
Ingredients
The Roast
- 8 lbs beef rib roast bones on, approximately 3 bones (about 5 pounds after trimming, cooking, and shrinkage)
- 3 tsp Kosher Salt approximately ½ teaspoon per pound of meat
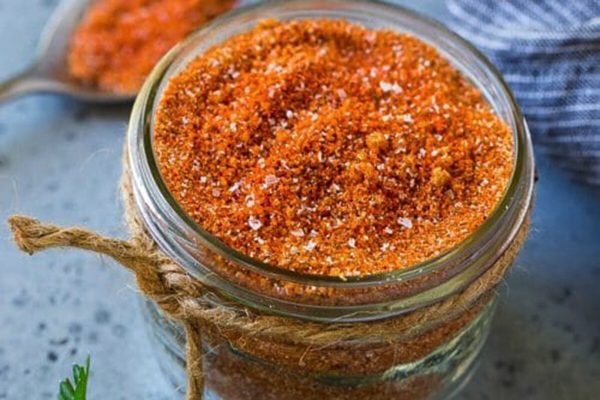
- 5 tsp Brian’s Steak Seasoning approximately 1 teaspoon per pound of meat
Gravy (Optional)
- 3 beef ribs or more or other beef bones
- meaty trimmings from the roast with a little fat
- 2 onions medium
- 2 carrots
- 1 celery uncut stalk – leaves left on
- 3 tbsp soy sauce
- 2 mushrooms dried
- 1 cup dry red wine
- 1 tsp Brian's Steak Seasoning
- 1 bay leaf
- 32 oz water
Instructions
Trim
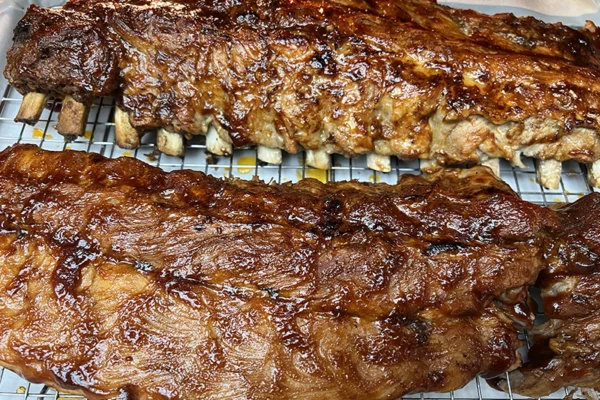
- About 24 hours before cooking, remove the rib bones and save them for the gravy or for another meal. The gravy is optional and most of the time I don't bother since the meat is so juicy. There's plenty of meat between the bones and these beef baby backs can be cooked just like pork baby backs for a real treat.
- Trim off all the fat cap from the top. Go ahead and trim right down to the meat. Make sure to get the silverskin too, it can be chewy. Save any pieces that are more meat than fat for the gravy. Save the silverskin for the gravy too. Some of it melts into gelatin.
- I leave most of the fat on the side where the bones were because it is hard to remove and it’s not very thick. But the fat cap has got to go.
- Aim to make it as round as possible. When you have bare meat, it is sort of tear-drop shaped. Press on the sides squishing it into a round tube. If necessary, tie it with string every inch or two to hold it round.
Dry Brine
- About 6 to 24 hours before cooking, sprinkle it with about 1/2 teaspoon kosher salt per pound of trimmed meat (1/4 teaspoon table salt). It's a bit hard to measure so here's how I do it. I use kosher salt which is a larger flake than table salt and it still dissolves easily on the moist meat. I sprinkle it from high above so it is evenly distributed. And I sprinkle about the same amount I would if I was about to eat the meat. Thick cuts need a bit more. Do not over salt! Put it in the fridge. This is a method called dry brining. The salt is sucked into the meat, seasons it, and messes with the protein structure to help retain moisture. There is a lot of meat to penetrate, so you can use the salt generously, but don't make a thick cake of it, and you will not need to rinse it off. It will all be sucked in. You should wrap it with plastic wrap just to keep other foods from coming in contact with meat juice.
Prepare the gravy
- The gravy is really a killer beef stock. You won't need the gravy for the meat because it will be soooo juicy, but you will like it, and you will want it for the potatoes (a MUST side dish). There will be plenty of leftover gravy that you can use for Italian Beef Sandwiches, Beef on Wick sandwiches, French Dip Sandwiches, for beef soup, or for making rice or couscous. There is no end of uses for a good, rich, homemade beef stock. But if you want to skip the gravy, nobody will complain unless you overcook the meat.
- To prep the gravy, remove the root ends from the onions and cut the onions into quarters. Peel the carrots and chop into 1-inch pieces. Clean the celery and chop into 1-inch (25 mm) pieces.
- There are three ways to make the gravy. (a) You can make it in advance indoors, (b) you can make it while cooking the roast on the grill, or (c) you can make it in advance indoors and still put it under the roast to catch smokey drippings. All three are excellent.
- You can make a fine gravy with just the meaty trimmings from the roast, but it will be better if you add some bones. If you removed the bones from a rib roast use them. If not, ask your butcher for some beef bones. Throw the bones on a grill in indirect heat at about 325°F (163°C), or in a smoker, or in the oven until they are brown on the outside. If you have a bandsaw, cut the bones in half lengthwise so more marrow is exposed or have your butcher do it. Get a big pot and put all the bones in it. Add the meaty trimmings with the fat attached. Don’t throw all the fat in. Add the veggies. If there is no leftover rub, add some of thyme, rosemary, and garlic powder.
- If you are cooking it indoors, turn the pot on low and let it simmer for about 3 hours, lid off. Occasionally skim off any foamy scum. Don’t worry about skimming the fat yet. And don’t worry about alcohol, most of it boils off. Nobody will get tipsy. Your kids won’t be led down the path of degradation.
- After about 3 hours strain out the bones and any other large solids and discard them. Then run the stock through a mesh strainer. Taste it and cook it down if it tastes too bland. When it is the right intensity, then you can adjust the seasonings. Refrigerate it. After several hours the fat will rise to the top and form a thick hard layer. Peel it off and discard it. If you have one of those fat separator cups you can use that. Back in the fridge it goes for now. What remains is a fine beef stock.
- If you wish, you can put all the gravy ingredients into a pan and put it under the roast while it cooks in order to catch the smoky drippings. Another option is to prepare the gravy in advance indoors, strain it, and then put it in a pan under the roast to catch drippings.
Start the Grill
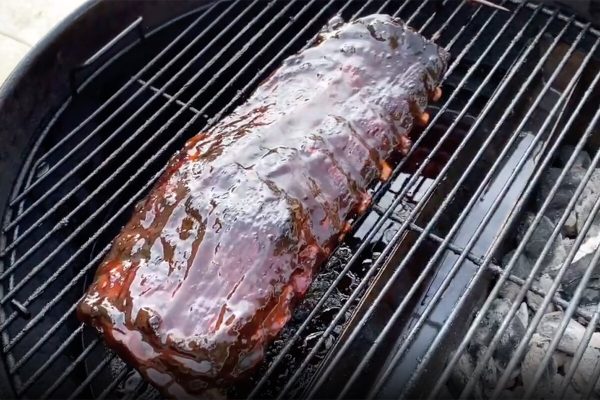
- Set up your grill or smoker for 2-zone cooking and preheat the indirect zone to 225°F (107°C). It is very important that you not cook hotter than 250°F (121°C) or so. I don't care what the cookbooks or the TV chefs say. You don't want to cook so hot that the meat gets dark on the outside before it is done on the inside. Watch the computer simulations above.
- Clean the grates thoroughly before the gravy/drip pan goes on. Boil the gravy in a sauce pan and then pour it into the drip pan. Don’t pour cold gravy in the pan. If you have a small grill, you can put the pan right over the fire. It then becomes a heat shield and the meat will be in the indirect zone. For more info on setting up your cooker, read my articles on how to setup a gas grill, a charcoal grill, a bullet smoker, and an offset smoker. And you can do this indoors!
Cook
- If you have a meat thermometer with a probe on a cable, and you should, insert it now so the tip is dead center in the thickest part of the meat. If you don't have a probe you can leave in the meat, you absolutely must have a good digital instant read meat thermometer and you should check it every 30 minutes at first, and more often as the cook progresses. You should also have a good oven thermometer that has a probe you can place near the meat in the grill/oven, but place it at least 2" (51 mm) away so it is not in the cold air bubble surrounding cold meat. Read my Thermometer Buying Guide to learn how they work and which are the best.
- If you made the gravy in advance, get it hot and pour it into the drip pan. If you haven’t made it yet, follow the instructions above and put the ingredients in the drip pan. Use hot water or else it will take a long time to heat on the grill and slow everything down.
Smoke
- If you want a smoke flavor in the background add just a little bit of hardwood or fruitwood to the hot part of the cooker, about 2 to 4 ounces (57 to 113 g) max right at the start of the cook. Don't overdo the smoke. A little bit is nice, but too much can ruin it. I cannot overemphasize this. This cut of meat does not benefit from a lot of smoke. Keep it in the background. What kind of wood? I don't think it makes a huge difference since you are using so little. Pick your favorite. I usually grab a fruitwood like apple. Read my article on the science of Wood.
Monitoring your meat
- You will want to look under the hood occasionally during the cook but make it infrequently and quickly. During the cook check the meat temp after 30 minutes and more frequently as things move along. Check the drip pan, keeping at least 1/2" (1.3 cm) of liquid in the pan. Add hot water if necessary. Do not let it dry out and burn. Look at the meat and if one side is getting too dark, rotate or turn the meat, otherwise, there is no need to touch it. If you have a problem with your cooker, perhaps the gas runs out or the charcoals start to die or the temp just won't stay at 225°F (107°C), or it is really cold outside, you can bring it inside after about an hour and finish it in the oven. It has gotten all the smoke flavor you need. But the drier heat and airflow on the grill makes a better crust than the oven.
Searing
- When the temp in the deepest part of the interior reaches 115°F (46°C), remove the probe (it just gets in the way), remove any string if you used it, and place the roast over the hottest part of the grill. Remove the drip pan and bring it inside. Raise the lid and stand by your grill. Get the surface a deep dark brown by leaving it on the hot part for about 5 to 10 minutes. Roll it a quarter turn and repeat on all four sides. We leave the lid up because we no longer want to roast the interior. We are focusing the heat on the exterior now. During this process, the interior will rise another 5 to 10°F anyway. Check the temp again and take it off at 130°F (54°C) to 135°F (57°C) for medium rare.
- If you are cooking indoors or on a pellet grill, you can sear under the broiler indoors. If you have a small gas grill just crank it all the way. On a gas smoker, remove the water pan and the wood pan and put the meat down close to the flame.
Finishing the gravy
- While the meat is searing, pour the liquid from the drip pan through a strainer and taste it. It should be rich. If it is wimpy, dump it into a frying pan, turn the heat to high, and reduce it. It will reduce faster in a wide frying pan than in a narrow saucepan. Taste and add salt if needed only after it is the proper consistency, but it shouldn't need salt because the drippings have salt in them. Pour the gravy into a gravy boat and serve alongside the platter of meat or ladle it on the mashed potatoes, or just freeze it for later use.
Serving
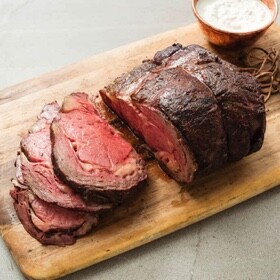
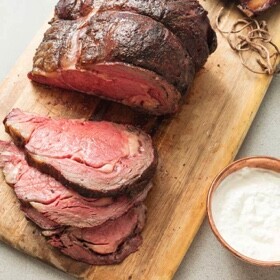
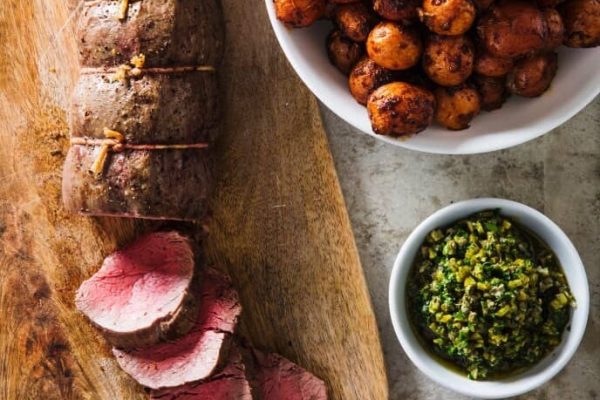
- There is no need to rest the roast. It is a myth that this makes it juicier. Serve your meat hot! You will need a cutting board or a platter that can hold liquid. Even if you rest the meat a lot of liquid will flow. Don't let it escape! First, remove the string. Use a really sharp knife and cut servings about 1/2" (1.3 cm) thick. Pour any drippings from the cutting board onto the platter of cut meat. If you want to amp it up to 11, serve it with Horseradish Cream Sauce on the side. Watch the video highlighting the entire process.
